I am able to undertake most sorts of concertina repair, or at least I will be able to once my books open again. On this page I have made a photo essay of one particular repair job.
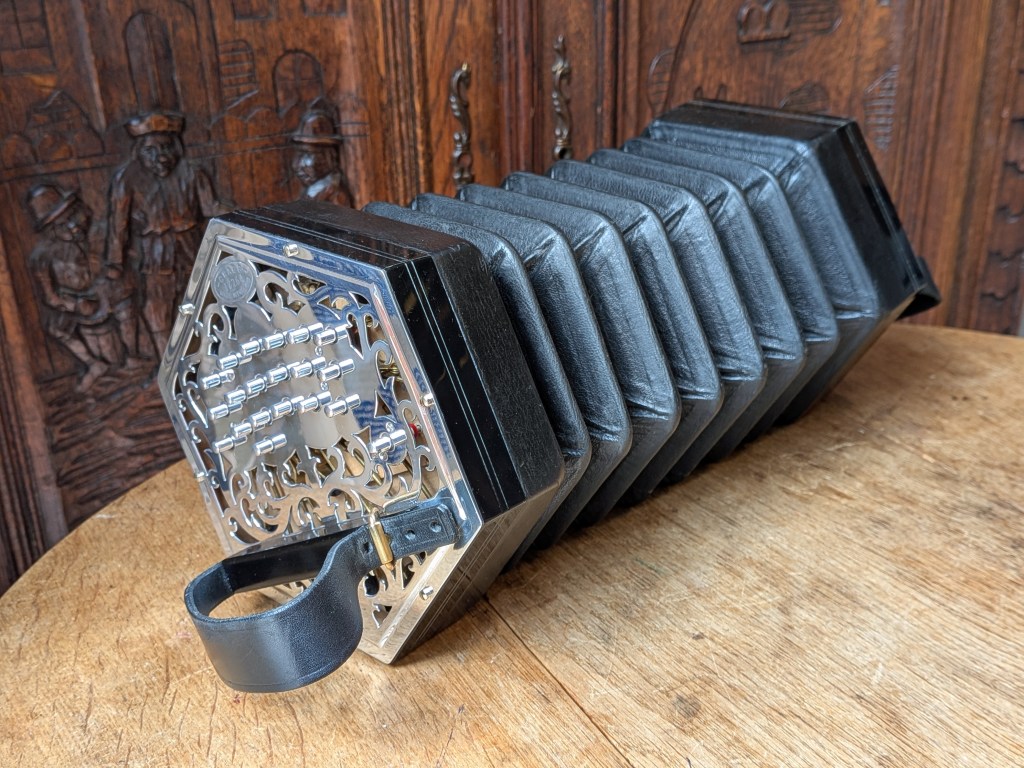
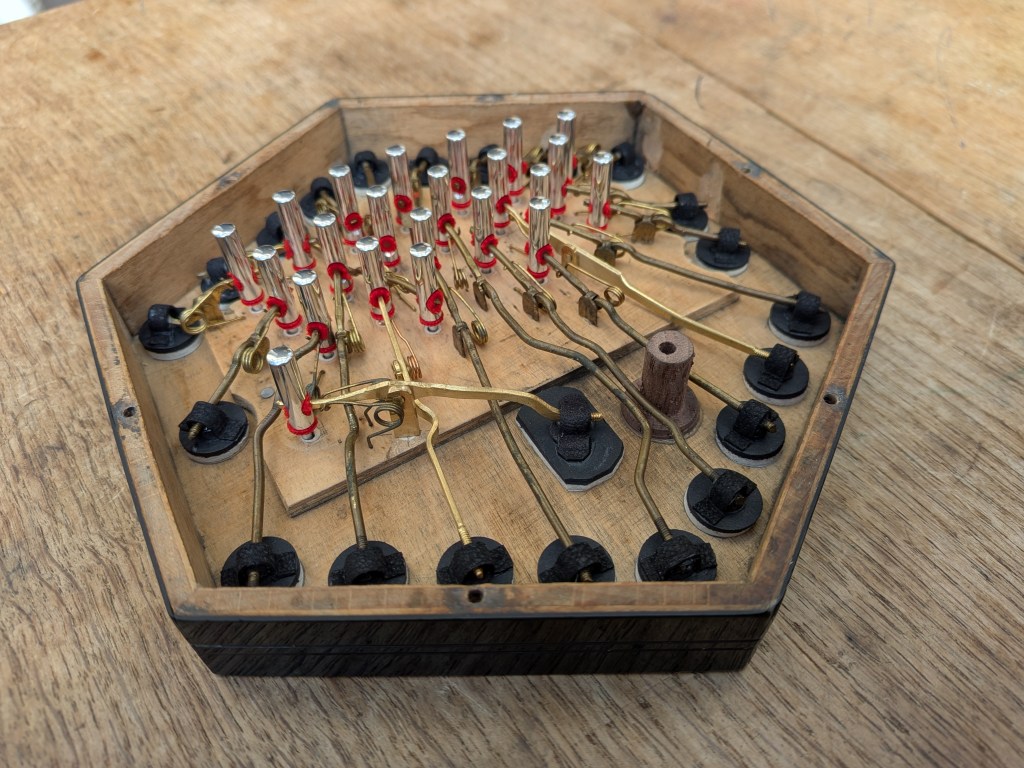
This concertina was purchased from H.Crabb & Son in 1968 by Musician John Kirkpatrick. After 58 years of hard playing some cracks had developed in the ends and the action components, especially the buttons had become worn, leading to pads not being able to seal properly and buttons not returning to their proper level in some cases. The repairs carried out in total were: complete action disassembly and rebuild with components replaced if required, new ends and bushing boards made, all reed frames shimmed to make them fit properly, all valves replaced, all reeds tuned and finally an extra button added to give the low D note absent on most C/G Anglo concertinas. The bellows are not original and were replaced at some point in the past by Steve Dickinson (C.Wheatstone and Co) They are still fine.
It was simply amazing to have the chance to work for one of my musical heros. As a teenager I would play the melodeon for hours on street corners armed with the book “John Kirkpatrick’s English choice”.
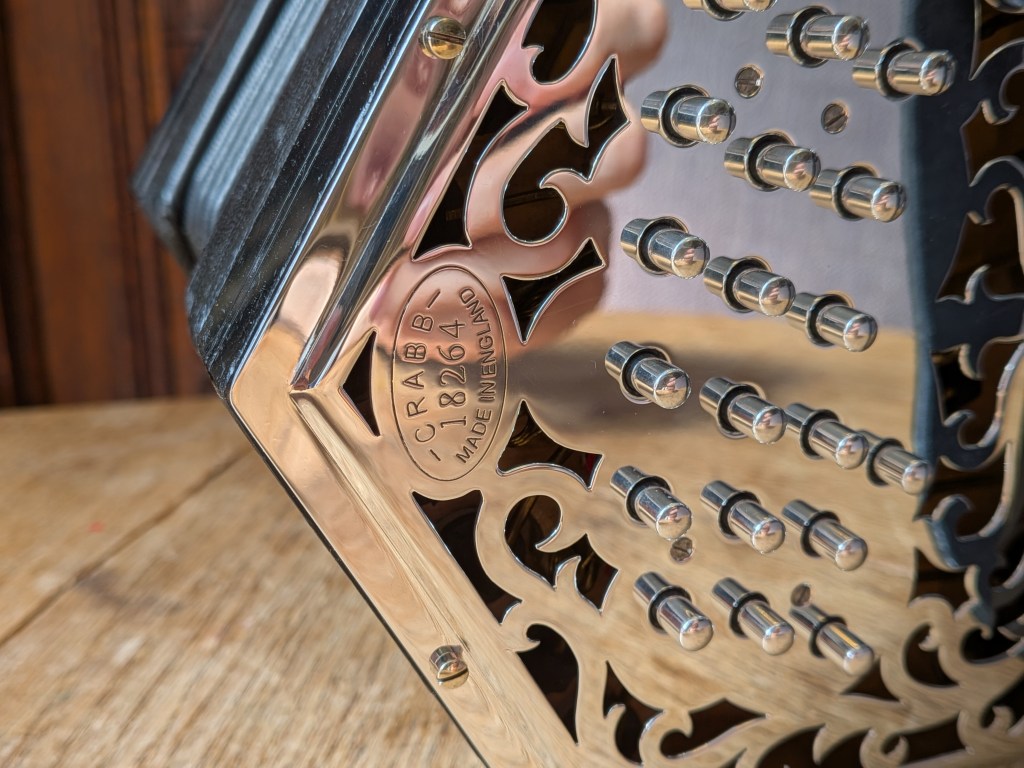
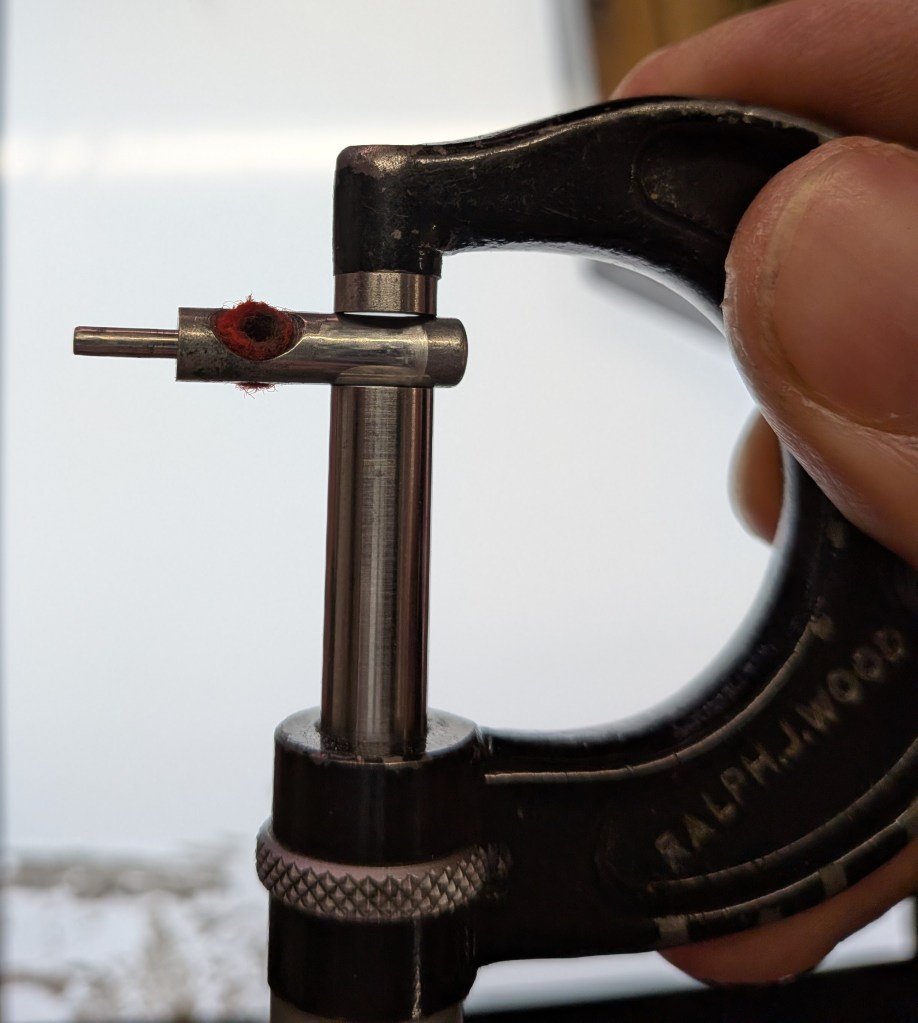
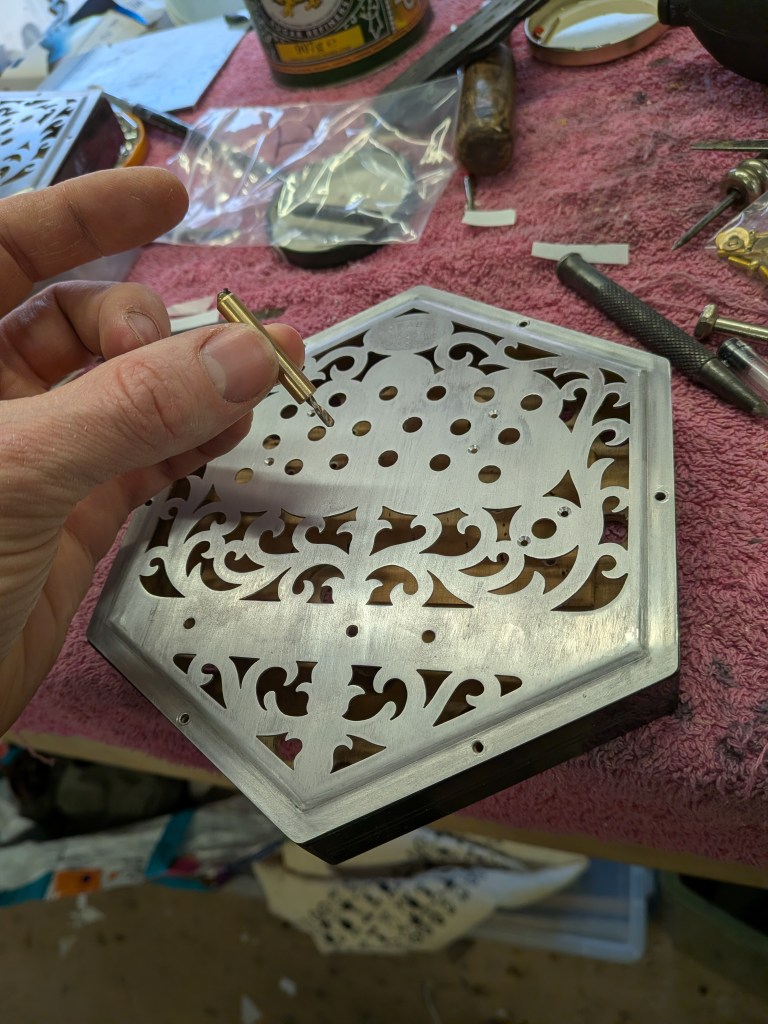
Here you can see for example the wear on one of the buttons. This is simply caused by years and years of playing, and brilliant playing it was!
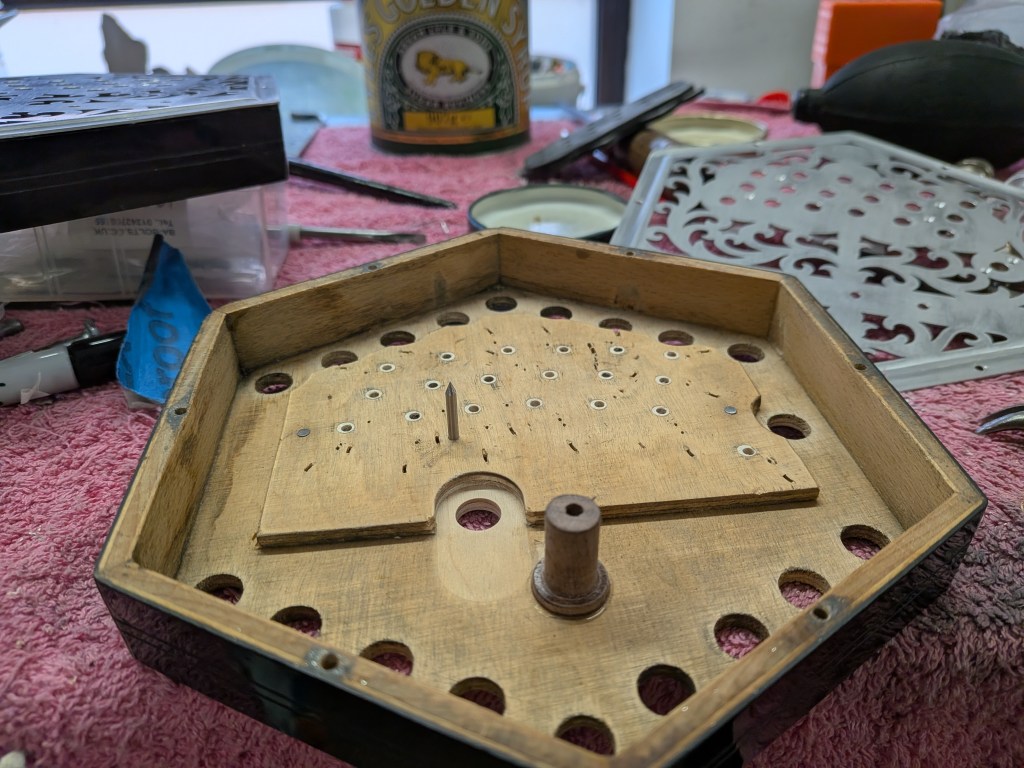
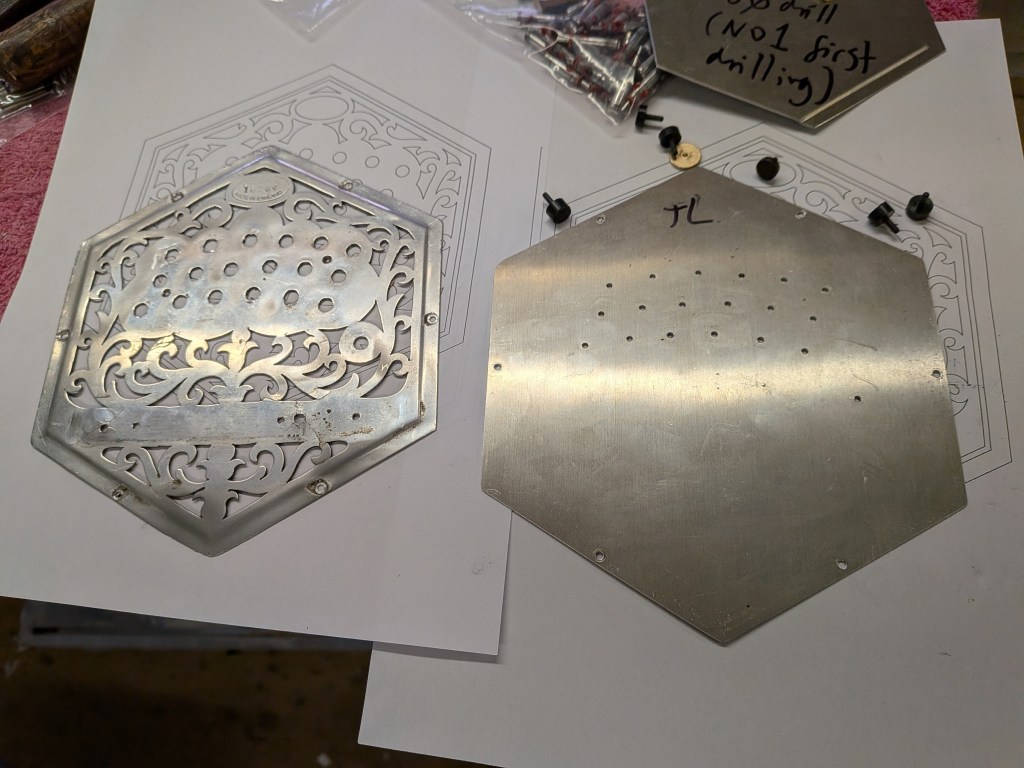
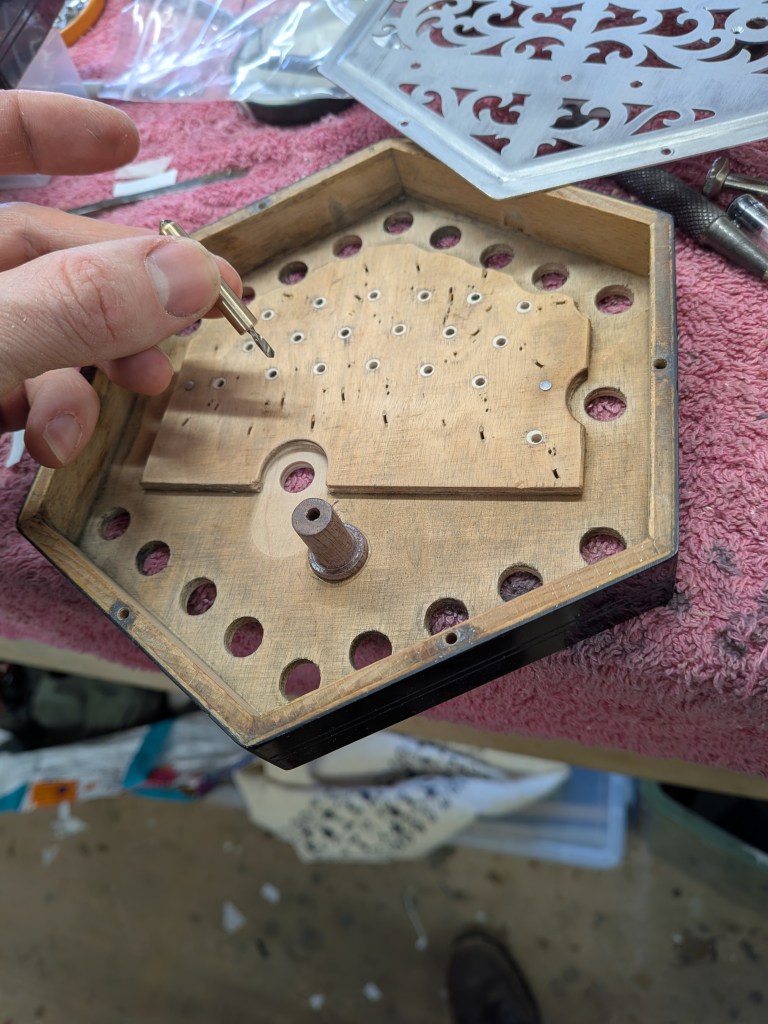
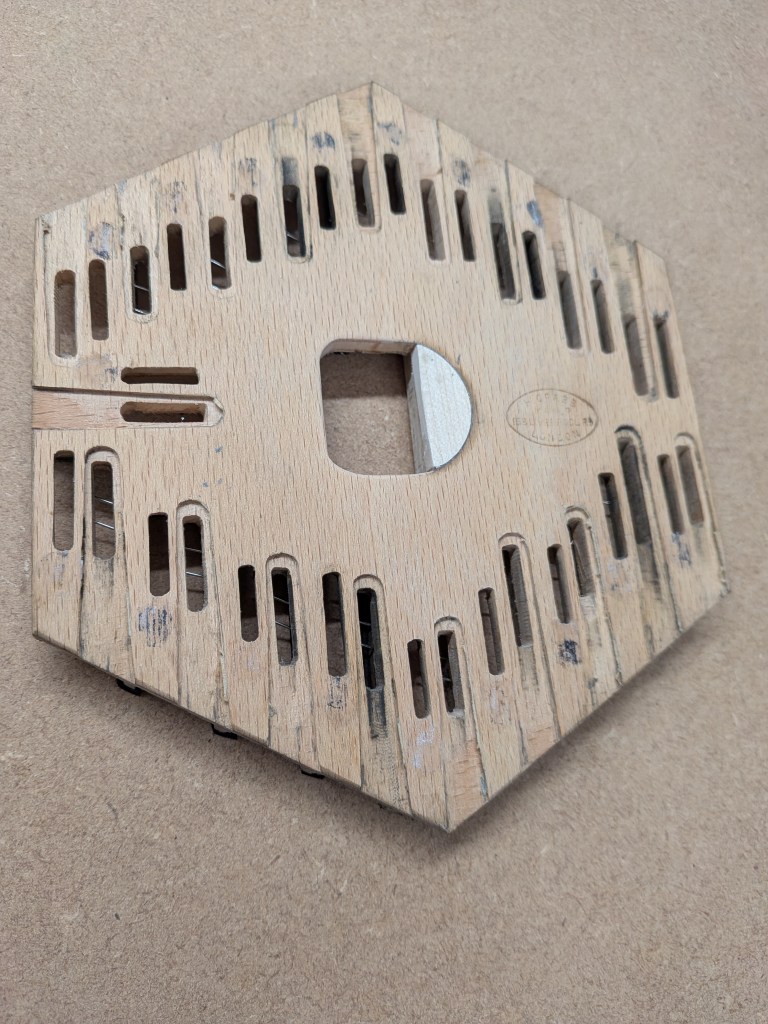
The first thing to do was remove the ends, remove all action components and fill in the holes in the desk. This is needed as when the new ends are made, new holes are bored in the desk in such a manner as to perfectly align with the holes in the metal end and the holes in the bushing boards. This job has to be done on a lot of Jeffries concertinas in which the woodwork has shrunken as well.

That being done The protruding wooden pegs are machined and sanded flat, and everything is given a good clean while we are at it! Also the pad hole was added for the extra button, in exactly the right place. See the small metal spike put in a hole in what will be the place for the new extra button in the desk, this is for transferring the centre from the desk to the new ends. Now at this stage the holes for the buttons were not drilled in the desk yet, but I did not take a picture of that. In reality these holes are added later.
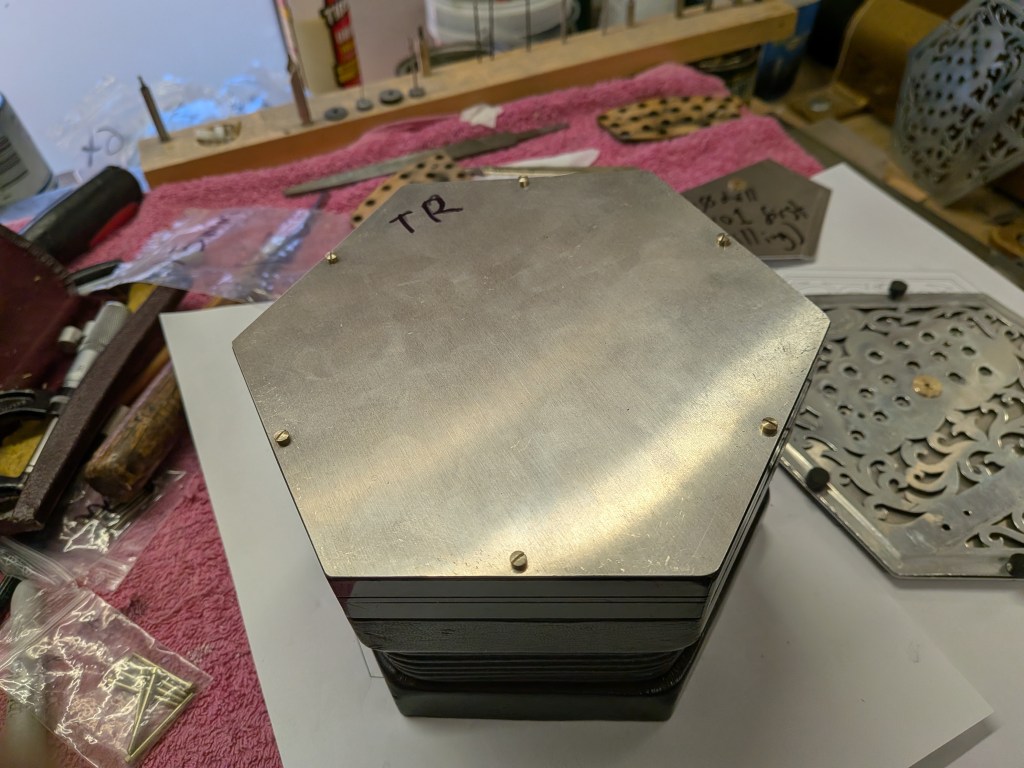
Now the new ends are made, they are made from aluminium, as were the original ends. Initially the action box is used as a jig, to make the end and then…
Once the new ends fit the old action box then the centres of the holes in the old ends are transferred to the new ends by means of a small stepped washer with a hole in the middle.
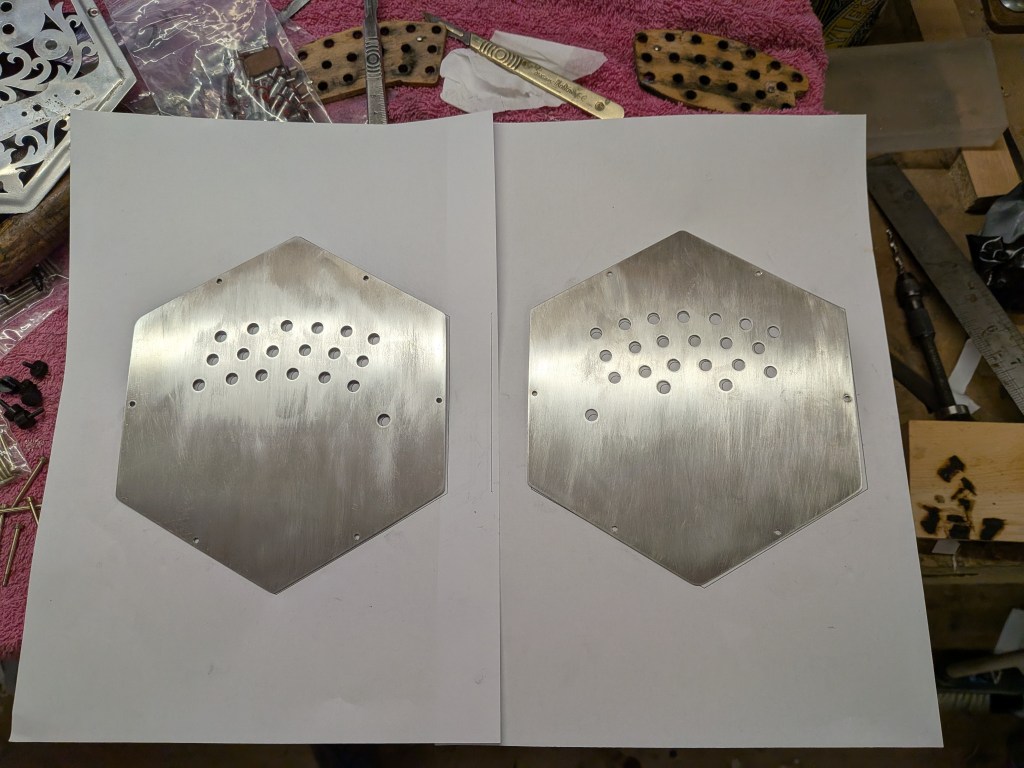
centres in new ends…
Centres enlarged to final size…
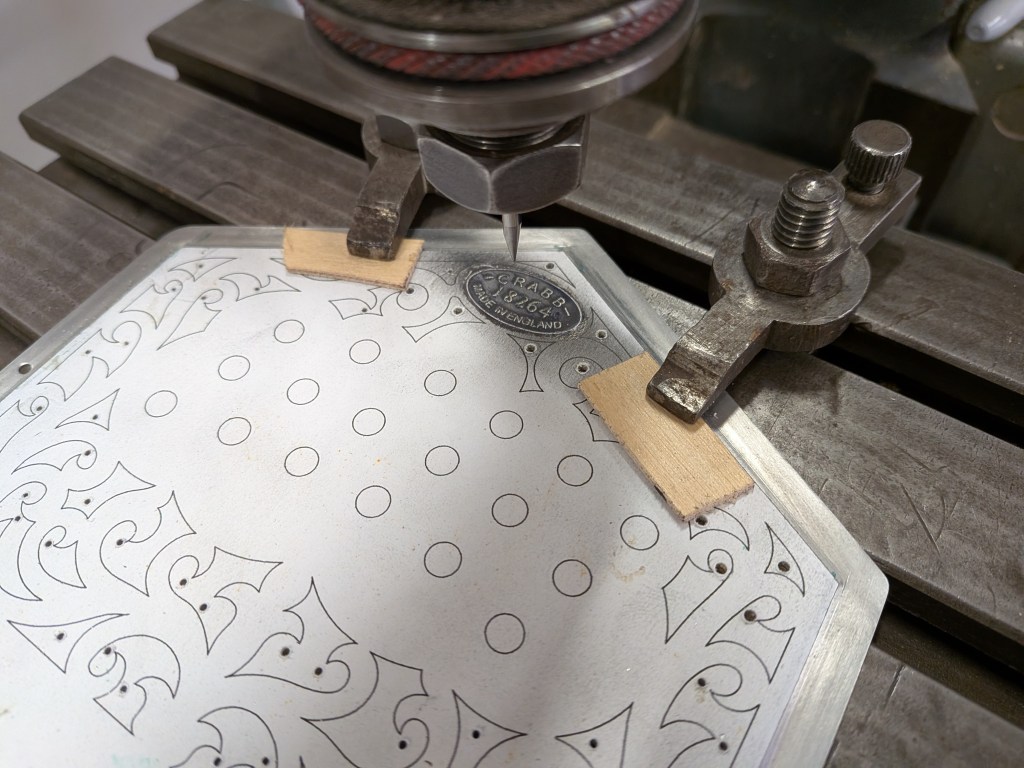
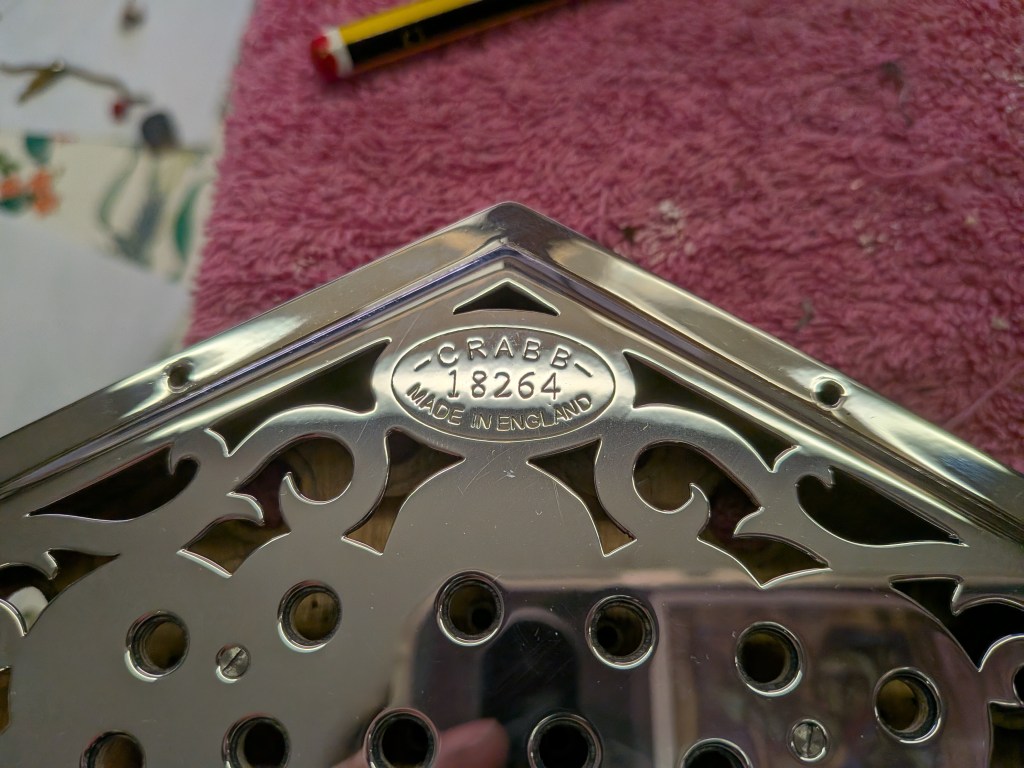
Then the ends are pressed, to give the bevel around the ends, then they are engraved with the H.Crabb and Son brand, and finally they are fretworked.
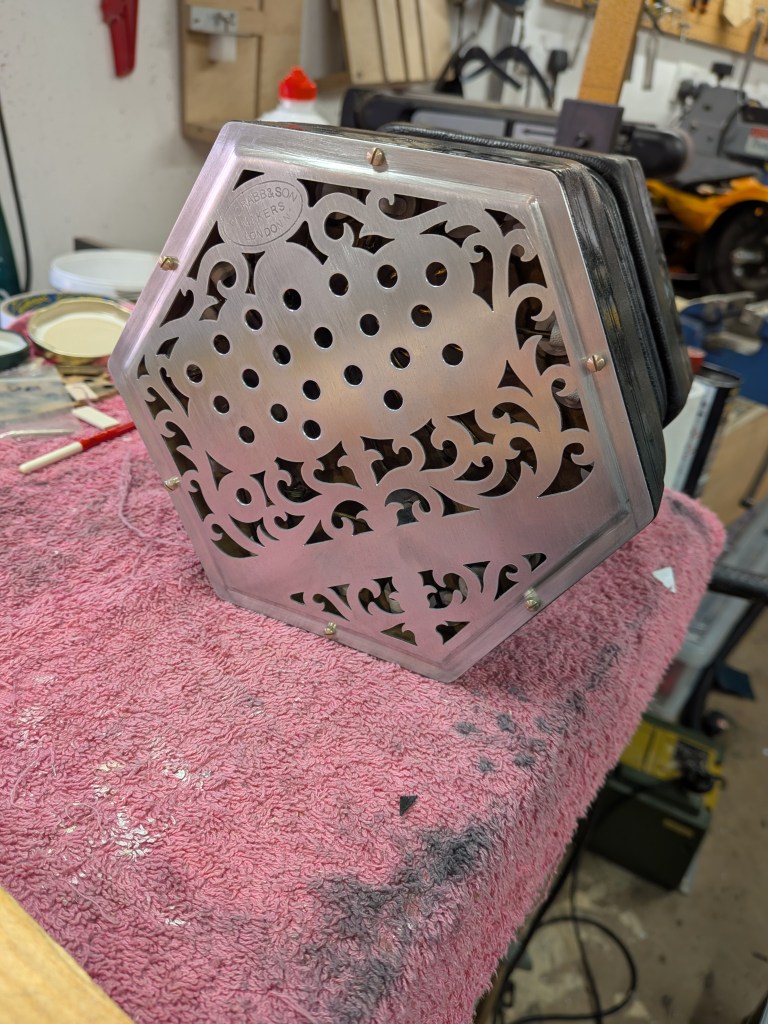
Ends fretworked and sanded, note the hideous towels I use as a soft surface so as not to dent the instrument, no expense spared…
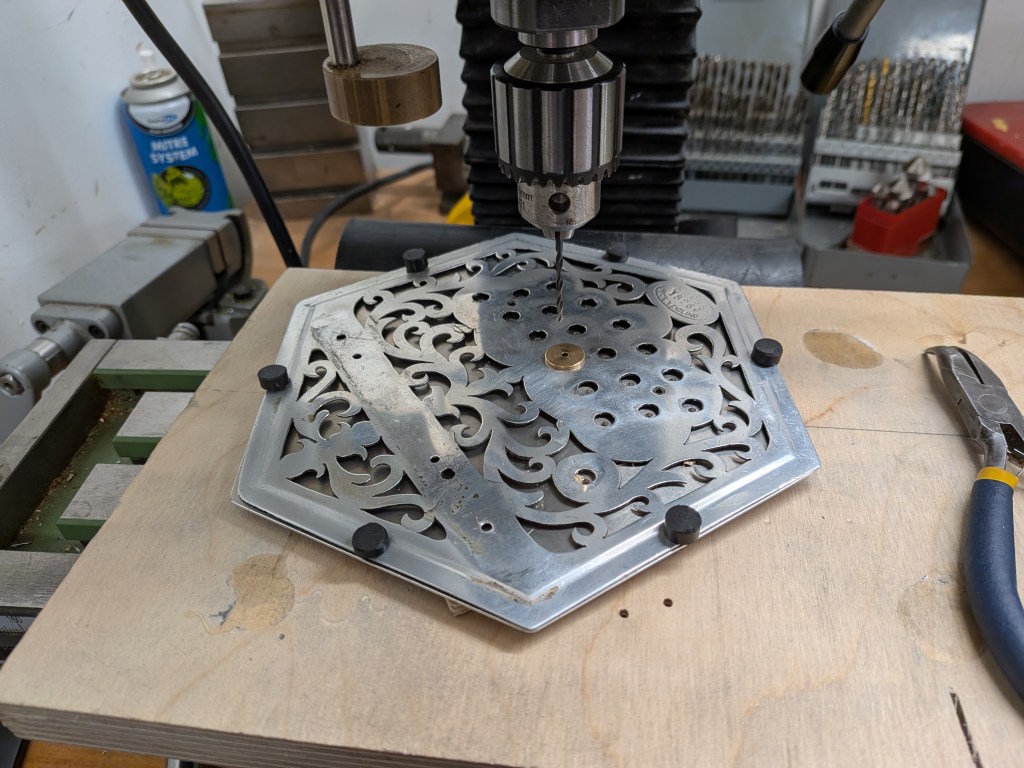
Now the holes in the new ends can be transferred to the wooden desk by means of a stepped drill, the larger cylindrical part is almost exactly the same size as the hole in the metal ends.
Now the holes in the desk align with those in the end. This is essential. If you don’t do it this way the action is likely to jam. This is the only way I know of to guarantee that everything aligns perfectly.
Now the bushing boards are made (sorry I did not photograph that bit). The ends can now be polished.

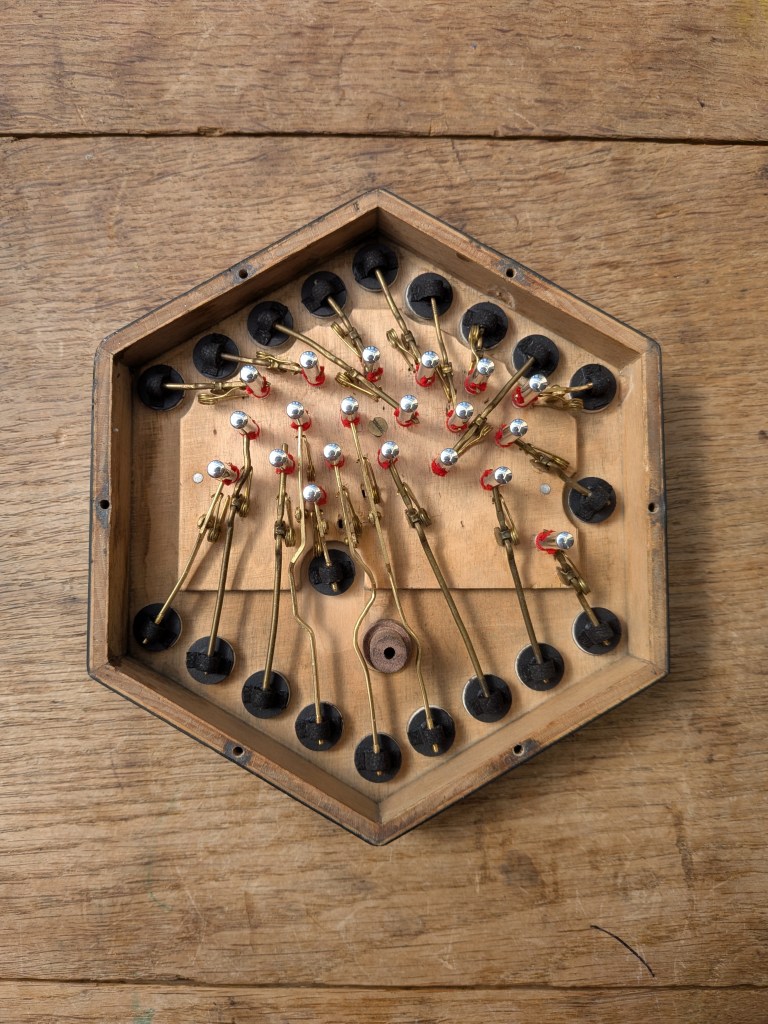
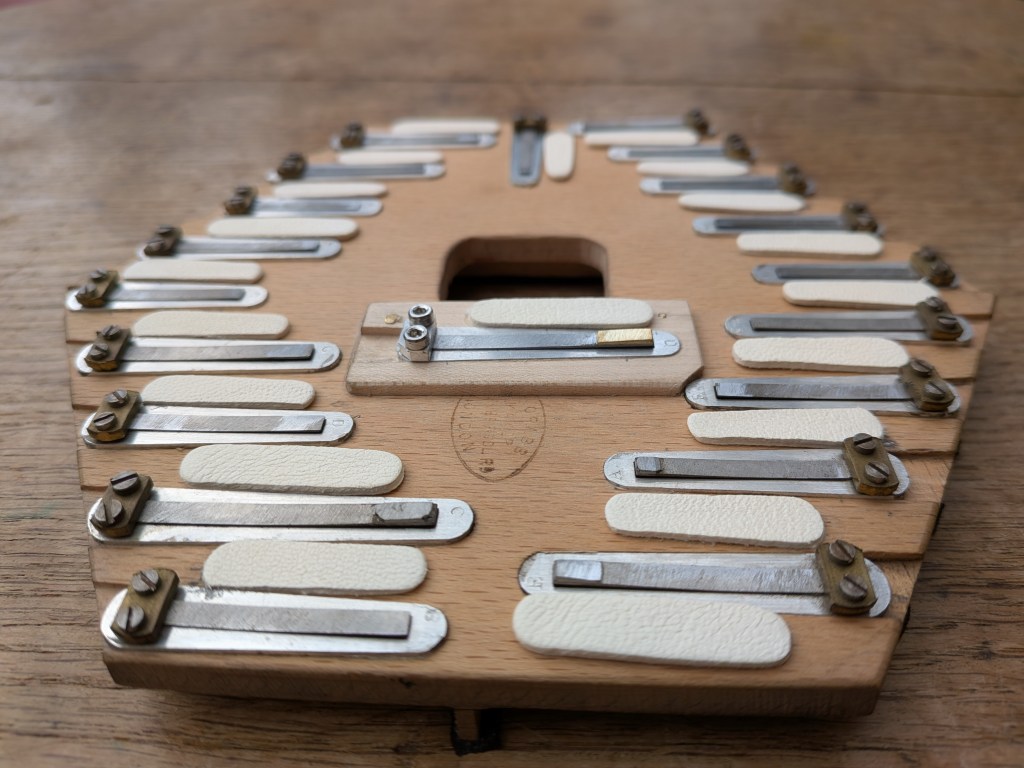
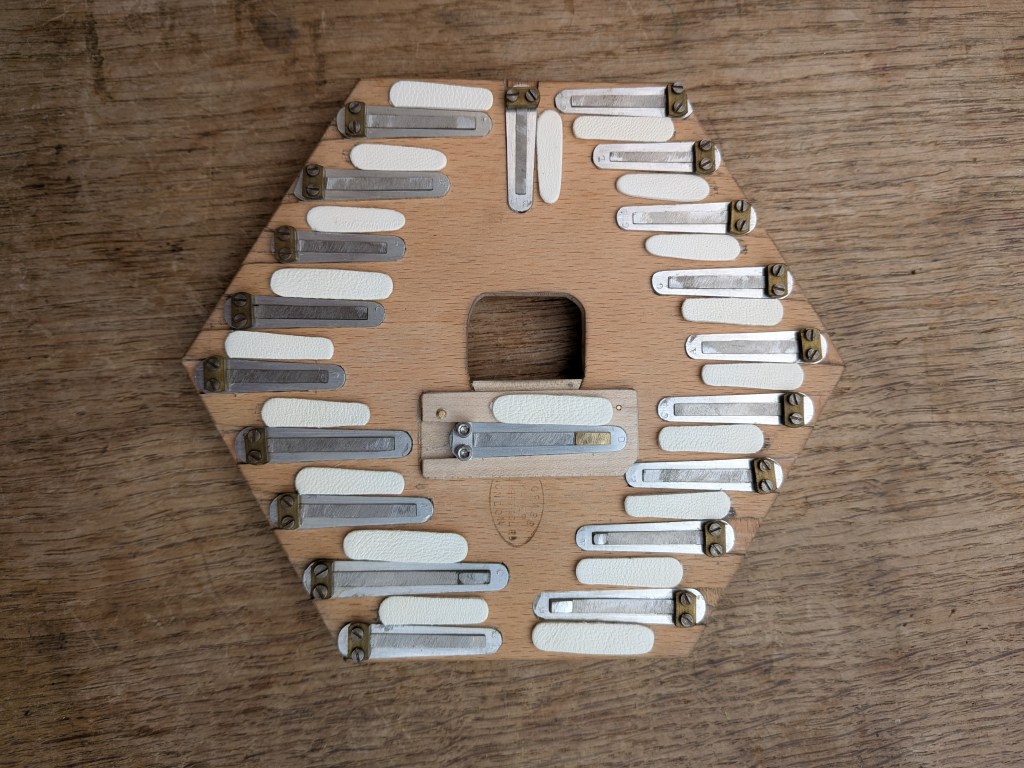
The action mechanism is now put back in. The buttons are new old stock from Geoff Crabb, thank you Geoff! Several of the levers needed to be replaced, to be honest I wanted to replace them all but John liked the clattery character of the instrument and wanted that to be preserved, fair enough if that is all part of the sound the musician likes.
Now this makes it look all rather easy when you see these nice images below but in reality this was the hardest bit of the job to get all of those levers perfectly aligned with the buttons and the centres of the pads, and the levers articulating perfectly and the button travel the same for all of the buttons, which also means that all of the buttons come to the same level. Take note of that last part “so that all of the buttons come to the same level” This is acoustically quite important, the lower the pad travels, the greater the acoustic dampening. The higher the pad travels, the less acoustic dampening. What we are aiming for is for all of the notes to sound as uniform as possible in tone, so the buttons should come to the same level, have the same travel and so long as the levers are well made and designed the pads should rise to the same level. Whenever you go to buy a 2nd hand concertina have a very close look at the tops of the buttons, they should all come to the same level, some should not be higher than others. If the instrument you are looking at has the buttons all coming to different levels then the message is clear : this instrument needs work. This is an aspect of repairing a concertina that slips through the net a lot. Key travel is set by bending the brass levers, that is how its done, to avoid having to bend them a lot we try to make the new pads the same thickness as the old ones.
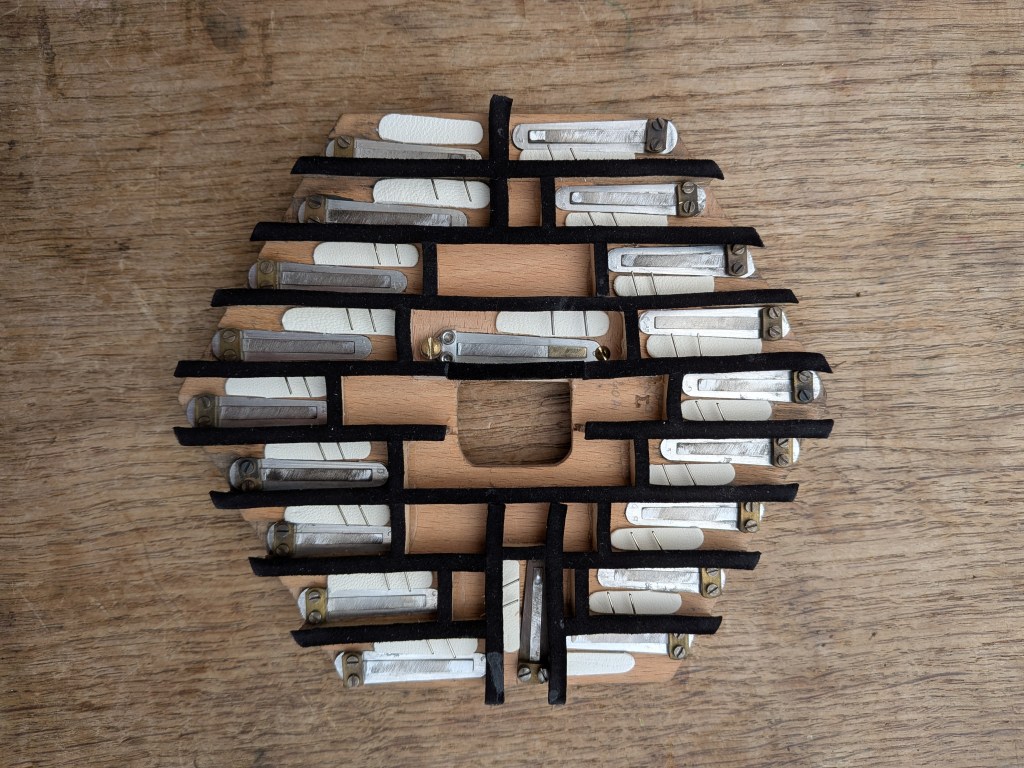
Now the reedpan is modified to take the new reeds, the central chamber is milled out so its deeper, both to allow the free movement of the reed tongue without hitting the top of the chamber (the chambers are quite shallow on this instrument) and to give a better tone for that low note. As the chamber was deepened by 2mm, it follows that I had to build it out 2mm on the other side. There were some shenanigans involving moving the central hole in the reed pan… The reeds are also shimmed at this stage and the valves replaced. Everything also gets a clean. See below:
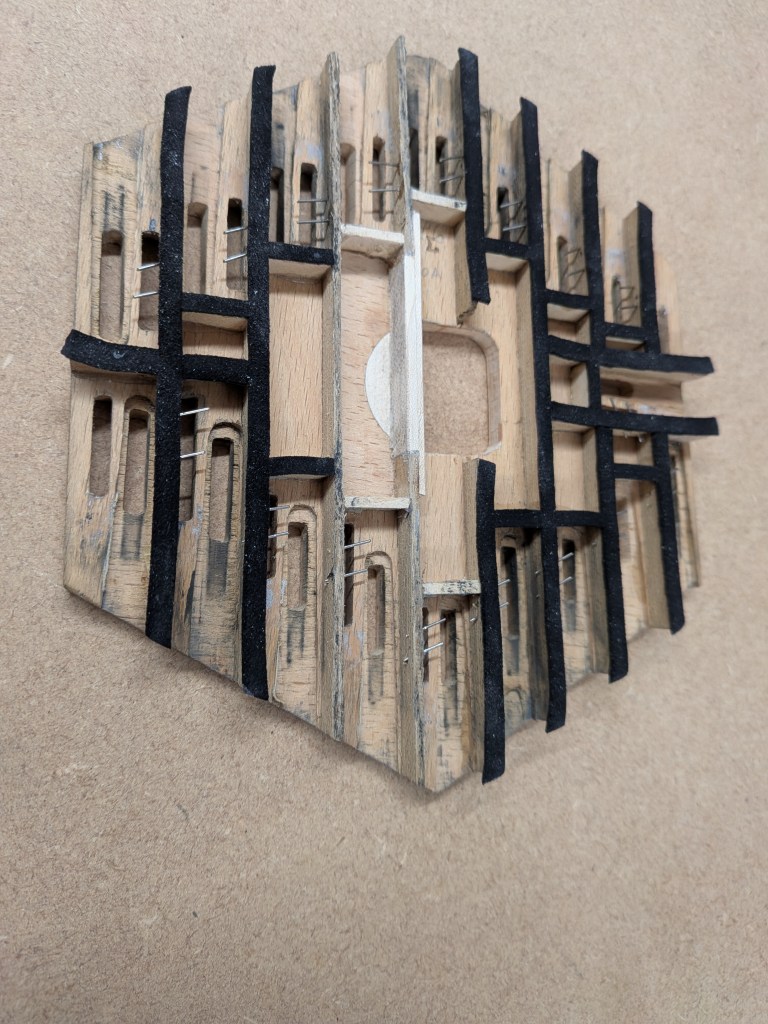
Completed reedpans below.
Now the instrument is tuned, played, tuned again and played some more. Adjustments are made as required.